Sealtechs Expansion Joint Sealing: How It’s Done and Why It Matters
Expansion joints are the “intentional gaps” built into concrete to allow for movement from heat, cold, and settling. When those joints are left open—or the old filler fails—water, debris, weeds, and pests move in fast. At Sealtechs, we seal expansion joints the right way so they stay clean, flexible, and protected long-term. We use industrial grade Polyurethane or Dow Corning Silicone.
Here’s our process and why it works.
Step-by-Step: The Sealtechs Expansion Joint Process
1) Remove old wood, mastic, and debris
A lot of older joints were formed with wood strips, and many were later “patched” with failing mastic or random fillers. We start by removing:
- Wood joint material (if present)
- Old mastic / failed sealant
- Dirt, rocks, plant growth, and loose debris
This step matters because new sealant can’t properly bond to contaminated surfaces.
2) Grind the interior joint walls for long-term adhesion
Next, we grind the inside walls of the joint. This is one of the biggest differences between a quick “caulk job” and a professional joint seal.
Why grinding helps:
- Removes weak surface laitance and residue
- Creates a clean, consistent bonding surface
- Helps the sealant “grab” the concrete for longer service life
3) Set the proper fill depth with backer rod or sand
Before sealant goes in, we control the depth so the sealant performs correctly.
Depending on the joint conditions, we’ll use:
- Backer rod (common choice) to set depth and prevent sealant from sinking too deep
- Sand in certain situations to build depth and stabilize the base
This step prevents wasting product and helps the sealant cure and flex the way it’s supposed to.
4) Inject 1/2″ polyurethane joint sealant or Dow Corning Silicone
We apply a 1/2″ polyurethane sealant or Dow Coring Silicone into the joint. Polyurethane or Silicone is designed to remain flexible while strongly bonding to concrete—exactly what expansion joints need.
After application, the sealant typically cures over ~24 hours (conditions can affect cure time).
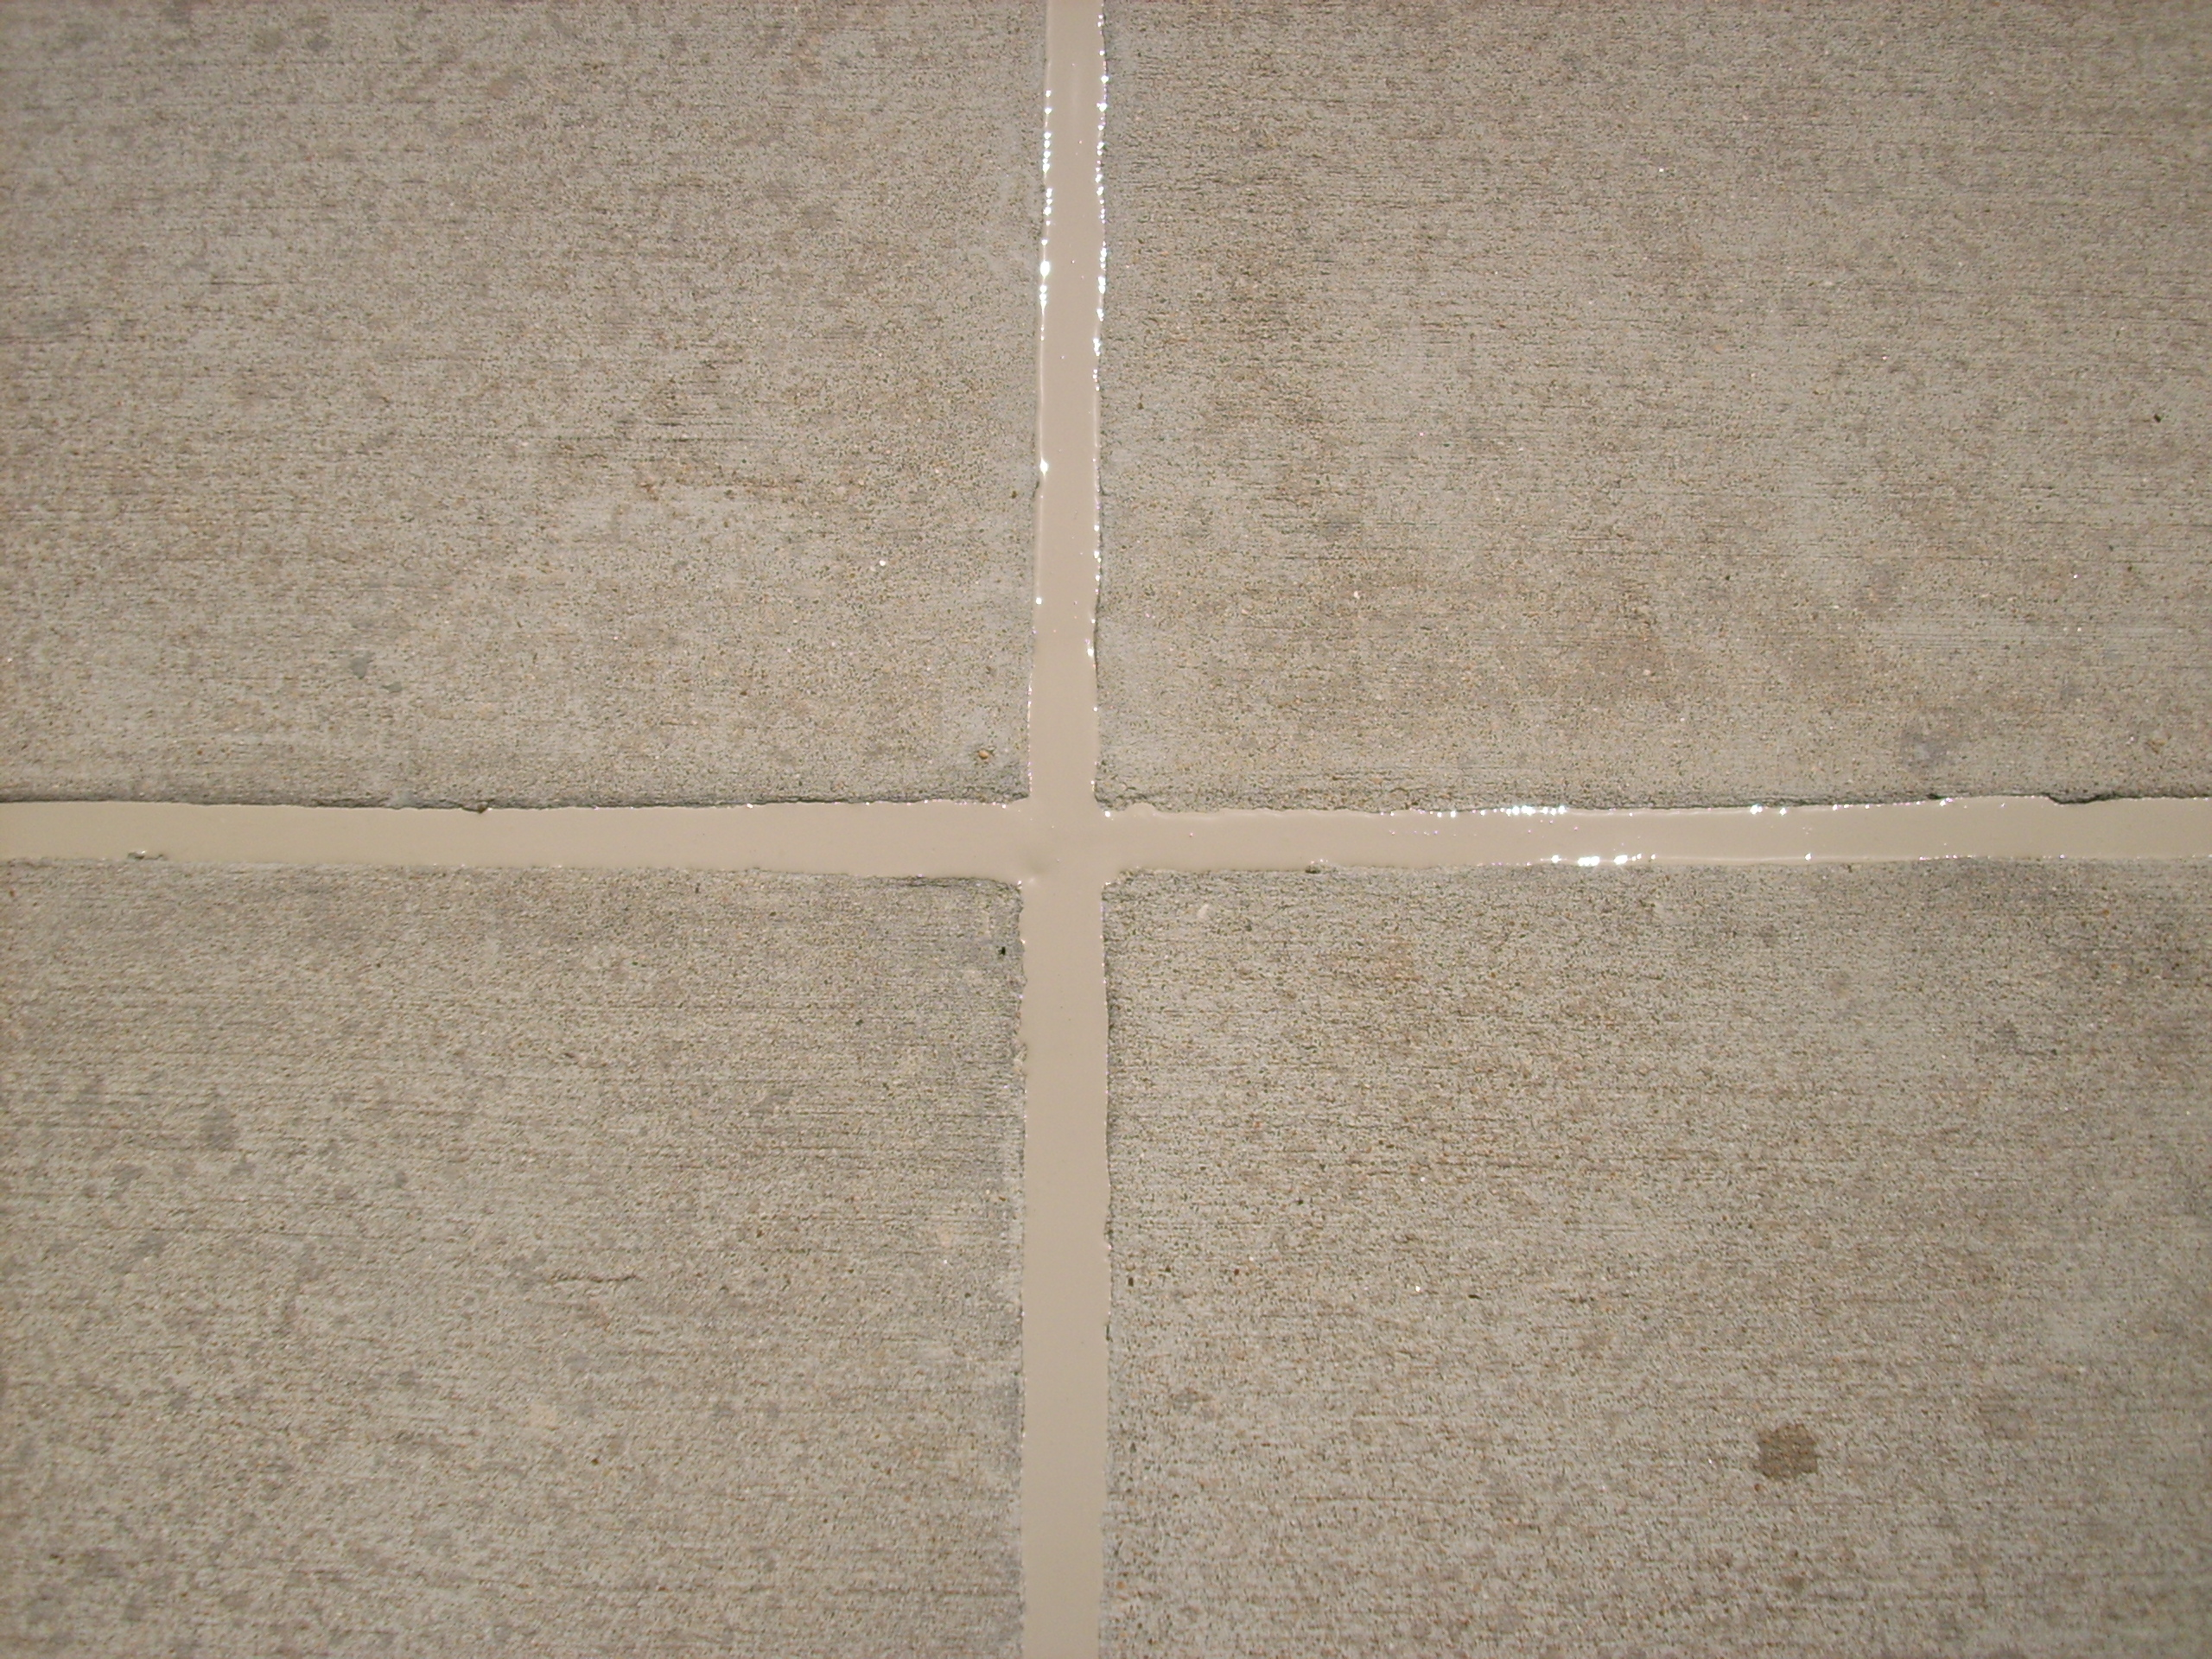
5) Broadcast sand on top for a grout-like finish and cleaner joints
Once the sealant is installed, we add sand on top for two key reasons:
- Creates a grout-like appearance that blends nicely with concrete
- Helps keep out leaves, grit, and unwanted debris that love to collect in open joints
The result is a clean, finished look that also performs.
Why Seal Expansion Joints? The Real Advantages
Protects the sub-base
Open joints are a direct path for water to reach the sub-base. Over time, moisture intrusion can lead to:
- Erosion and washout
- Settling and voids under slabs
- Cracking and uneven panels
Sealing joints helps block water and reduces sub-base deterioration.
Prevents weeds and unwanted growth
Weeds don’t just look bad—they can widen joints and trap moisture. Joint sealing cuts off the environment weeds need to take hold.
Reduces pests and insect invasions
Ants and other pests love open joints because they provide shelter and access points. A sealed joint helps eliminate those easy entry routes.
Helps prevent trip hazards
When joints deteriorate, edges can start to break down and become uneven—especially in high-traffic areas like walkways, pool decks, driveways, and patios. Proper joint sealing helps keep joint edges protected and reduces the chance of unsafe transitions.
Improves aesthetics and curb appeal
Clean, sealed joints make concrete look finished and maintained. The sanded topcoat gives a uniform, intentional look—no more dark gaps packed with dirt and leaves.
The Bottom Line
Sealtechs expansion joint sealing is about more than filling a gap—it’s about protecting your concrete system. By removing old material, grinding for adhesion, setting depth correctly, installing polyurethane sealant, and finishing with sand, we deliver joints that look sharp and help your slab last longer.
If your joints are packed with debris, weeds, missing filler, or old cracking mastic, it’s probably time to reseal them—before water and movement cause bigger problems.